Free written scope consultation - allowances, timeline, and change-order rules on paper before a single trade is scheduled
Sterling Home Additions & ADU: The Fresno Owner’s Guide
A Sterling home addition or ADU in Fresno runs $45,000 to $130,000 installed, depending on square footage, foundation work, and whether you’re building up or out. The piece most owners actually need help with isn’t the whole addition though. It’s a failed or failing part: a roofline tie-in that’s leaking, a subfloor that has started to deflect, a door header that doesn’t carry load the way the original framing promised.
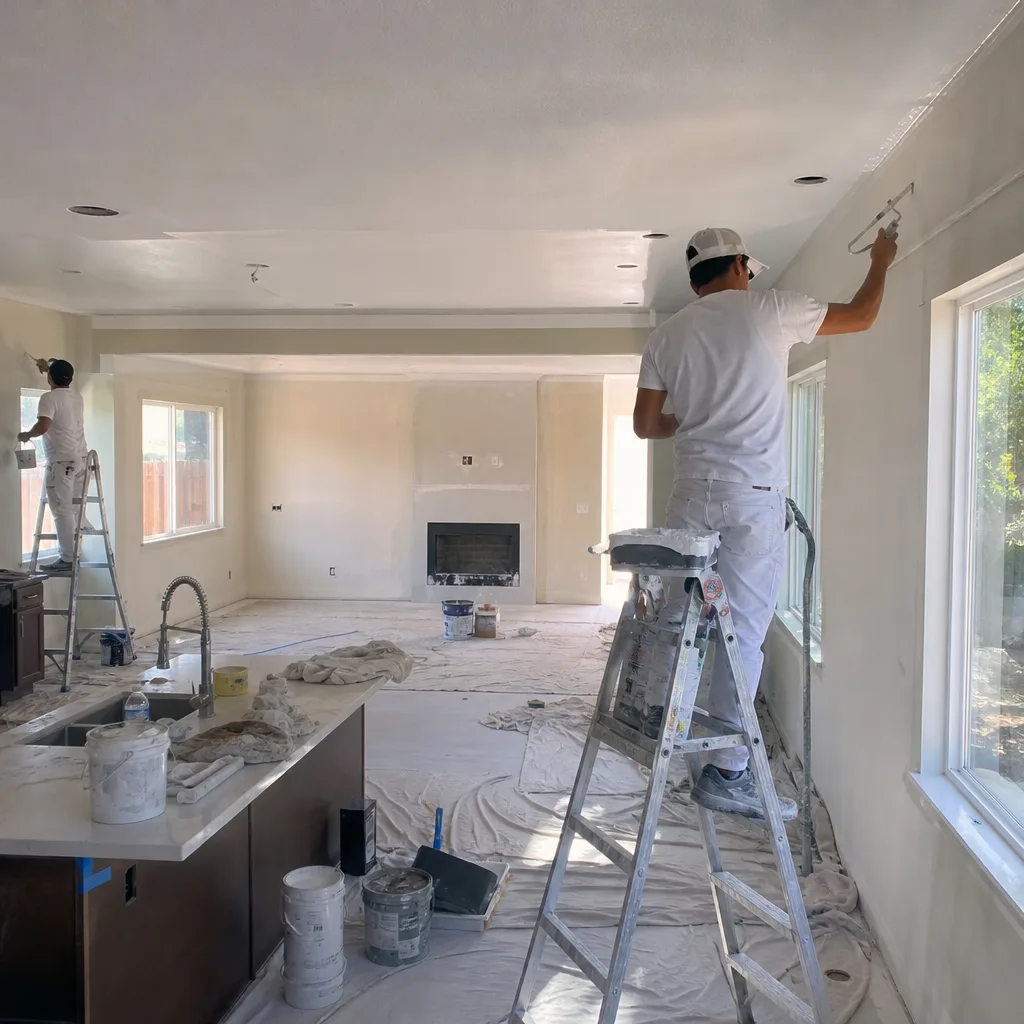
We see it most often in additions that were permitted as “owner-built” or done by crews that cut corners on the connecting points. The addition’s own framing may be sound, but the seam where it meets the existing house is where water gets in, where settling shows up first, and where a Sterling-style floor plan starts working against itself. Curtis Lane and our crew have corrected enough of these to know exactly where to look.
Bradford Remodeling Co Fresno is an independent service provider. We are not affiliated with Sterling, but we work on Sterling home additions and ADUs throughout Fresno regularly, and we stock or can source the structural components, flashing systems, and finish materials those projects require.
Which Sterling Models This Applies To
Sterling’s home addition and ADU line spans a few distinct product families, and the compatibility of any given part depends on which one you’re dealing with. The most common in Fresno are the single-story wing additions tied into ranch-style homes (common in Woodward Park and Sunnyside), and the detached ADU shells that go up over a new slab in the backyard. Each uses a different connection detail at the house, and that detail determines which flashing kits, ledger hardware, and drip-edge profiles apply.
Here’s the compatibility gotcha: a Sterling wing addition from a 2005-era design uses a 2×6 exterior wall assembly with a 16-inch on-center stud layout, while the current ADU shells are built to a 2×10 floor joist depth with a 12-inch rim board at the tie-in. You cannot swap the tie-in flashing from one to the other. The older wing addition uses a Z-bar profile at the roof-to-wall intersection; the new ADU shells use a two-piece counterflashing with a separate kickout diverter at the eave end. If you order the wrong profile, your installer will either bend it in the field (which voids the manufacturer’s finish warranty) or leave a gap that leaks within two seasons.
How to identify what you’ve got: look for the metal ID tag on the inside of the gable-end wall, near the scuttle access if there’s attic space above. It will list the series number and the manufactured date. If that tag is missing, measure the wall stud depth at an outlet box and the joist depth at the crawl hatch or access panel. Two and three-quarter inches of cavity depth means 2×4; three and a half means 2×6; nine and a quarter inches of joist height means the 2×10 ADU floor assembly.
We stock the common OEM-compatible flashing kits, ledger bolts, and structural connectors for both product families on our trucks when heading to a Sterling addition job. For older Sterling wings, a quality aftermarket flashing from the same gauge of aluminum or galvanized steel is functionally identical and often runs 15 to 20 percent less than the OEM-packaged part. The one place we won’t substitute aftermarket is the hold-down hardware at the shear wall connection: that stays OEM-spec, because the engineering calculations for the shear load were based on that exact anchor.
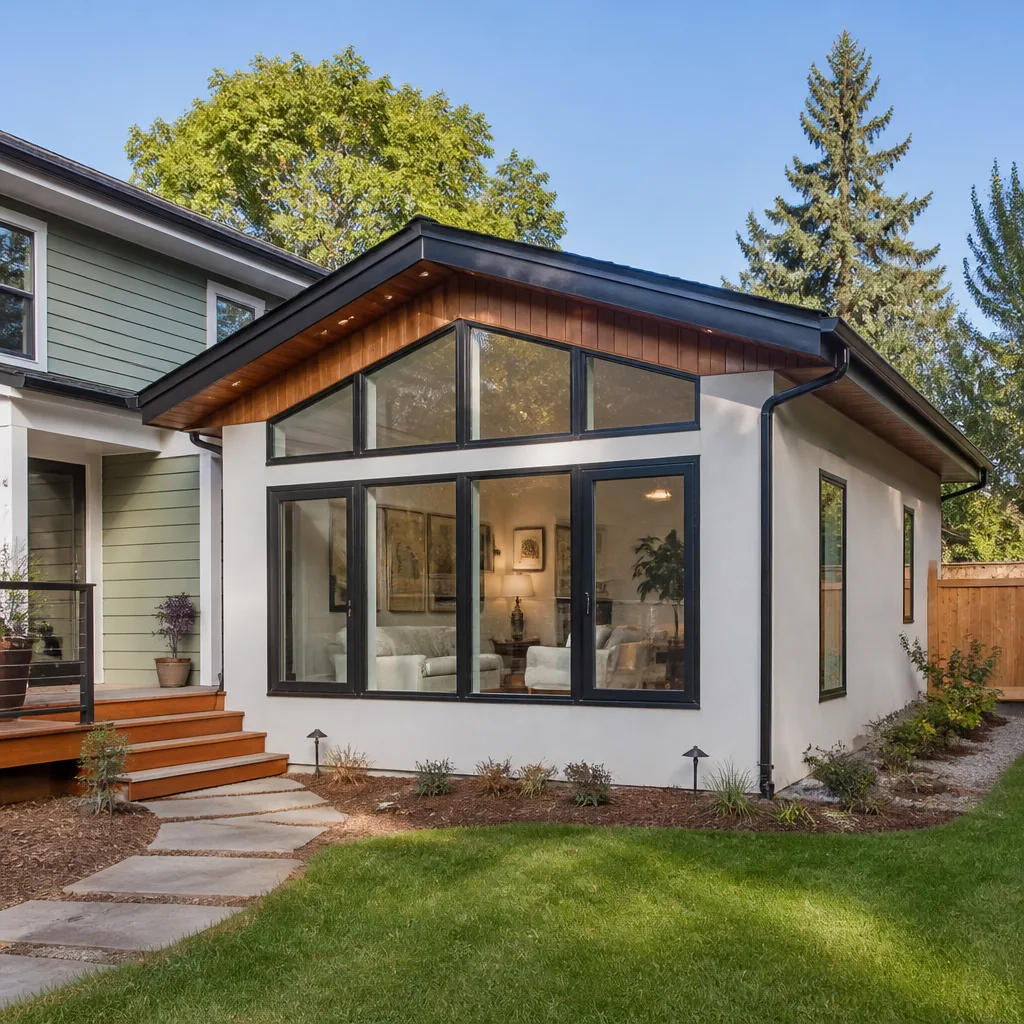
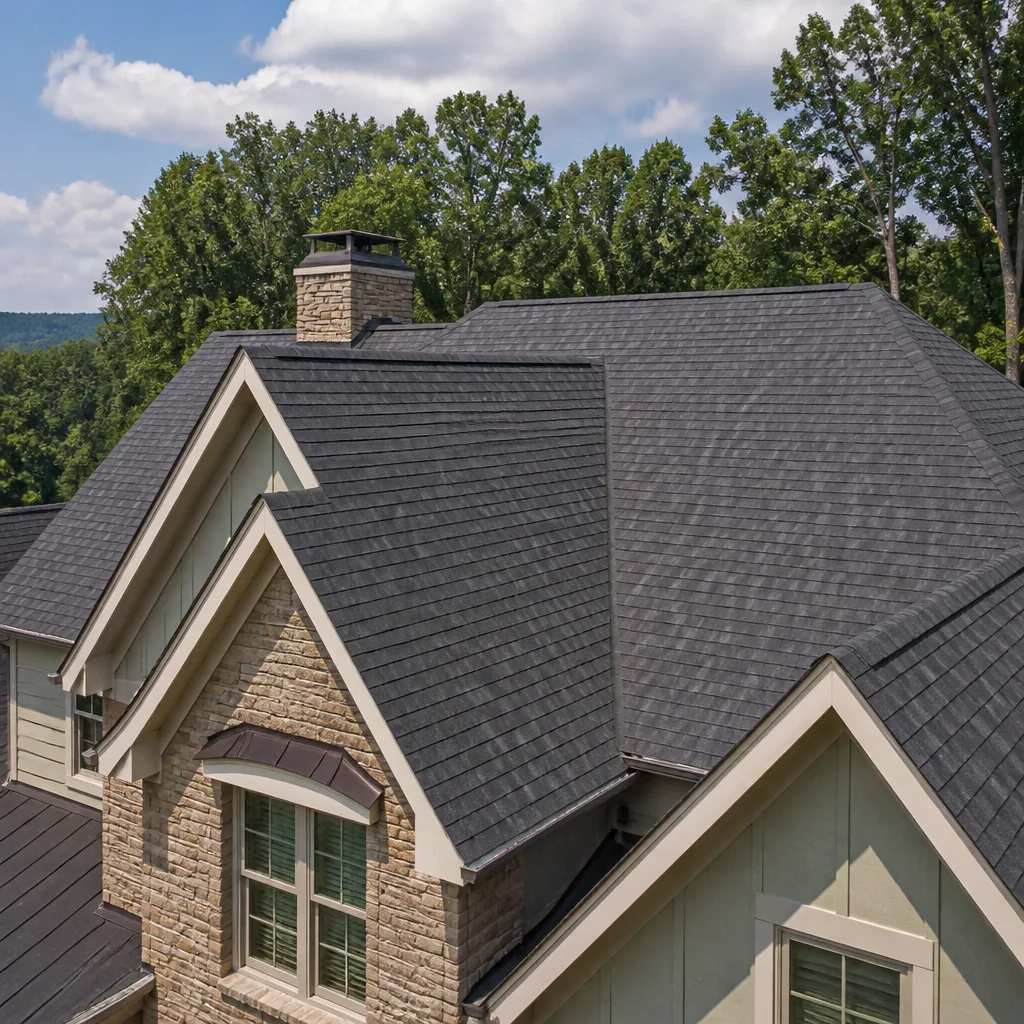
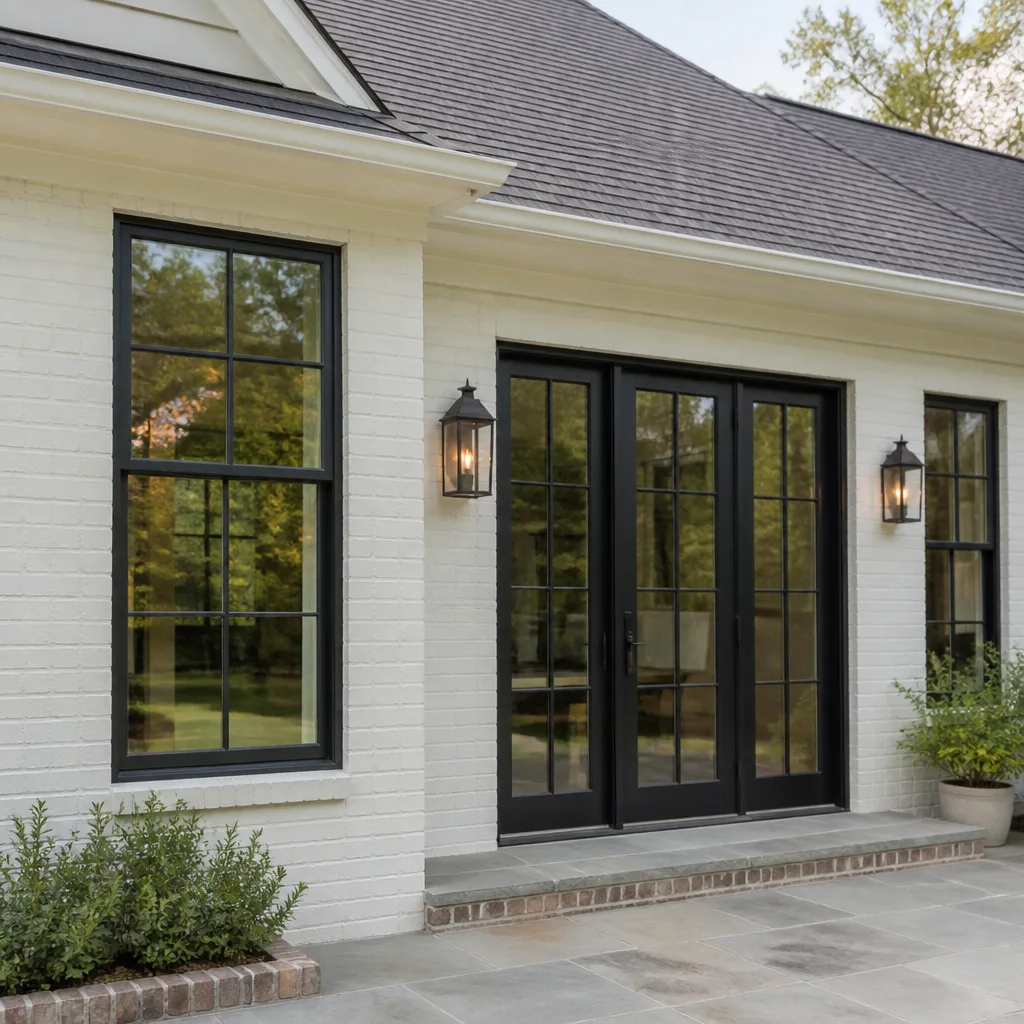
Styles & brands we work with
Signs Your Sterling Home Additions & ADU Is Failing
- Water staining at the interior ceiling where the addition meets the main house. This is almost always the tie-in flashing: either it was never kicked out at the eave, or the counterflashing has pulled away. In Fresno, the freeze-thaw cycle isn’t your enemy the way it is in Truckee, but 100-degree summer afternoons bake the sealant and open a hairline gap.
- A floor that bounces when you walk across the addition. That’s subfloor or joist deflection, usually from joists that span too far or a rim board that wasn’t bolted to the existing foundation with the right ledger pattern. We feel it the moment we walk it.
- A visible crack at the drywall seam running parallel to the original house wall. This is differential settling: the home and the addition are moving at different rates. Minor cracks happen; a crack that opens and closes seasonally is the cladding or framing connection working against itself.
- Doors inside the addition that stick in summer and swing free in winter. Fresno’s dry heat shrinks the framing lumber and the door slabs can rack. If you can see daylight around the door’s top corner when it’s closed, the header at the addition’s exterior wall has moved.
- Musty smell or soft drywall near the baseboards of the addition. Failed sill flashing or a missing moisture barrier at the slab edge. Water wicks up from the ground or blows in at the sill plate and feeds mold you can’t see until the drywall is opened.
See the difference
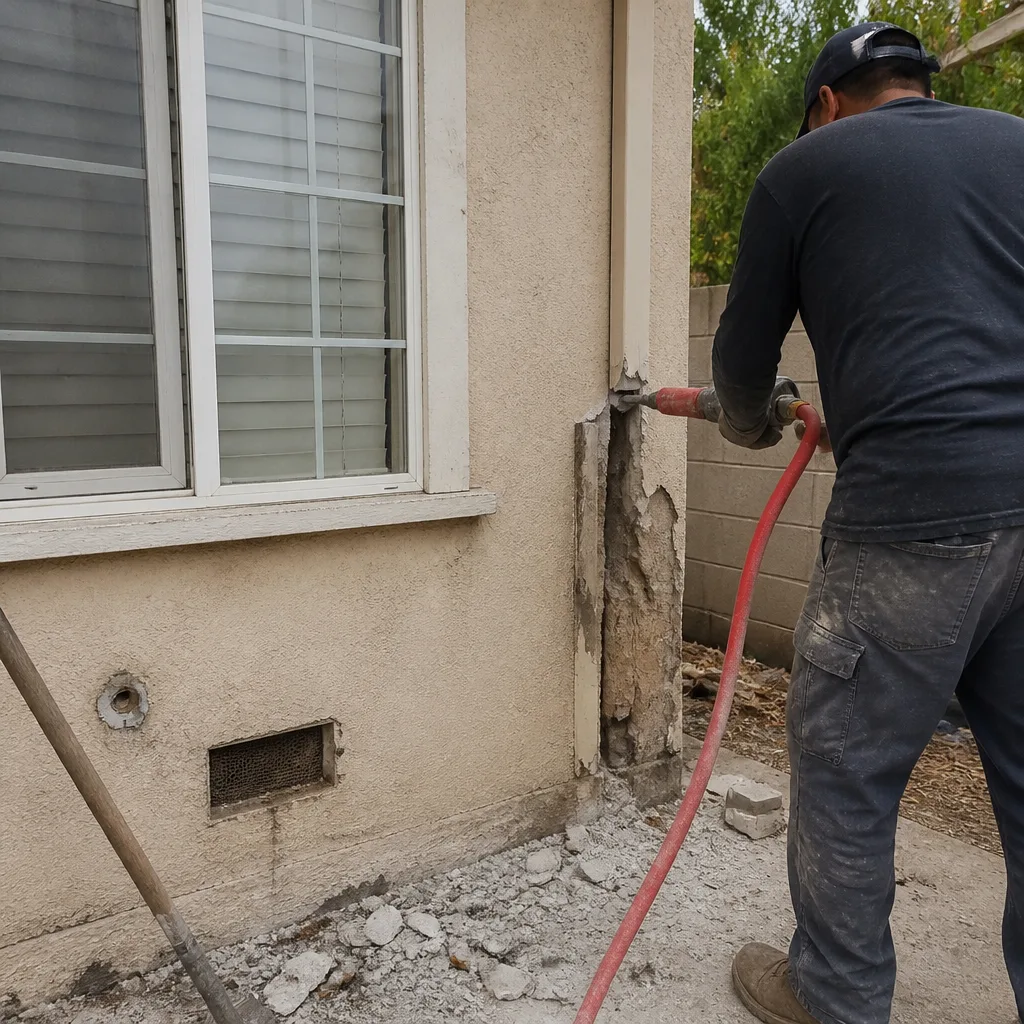 Before
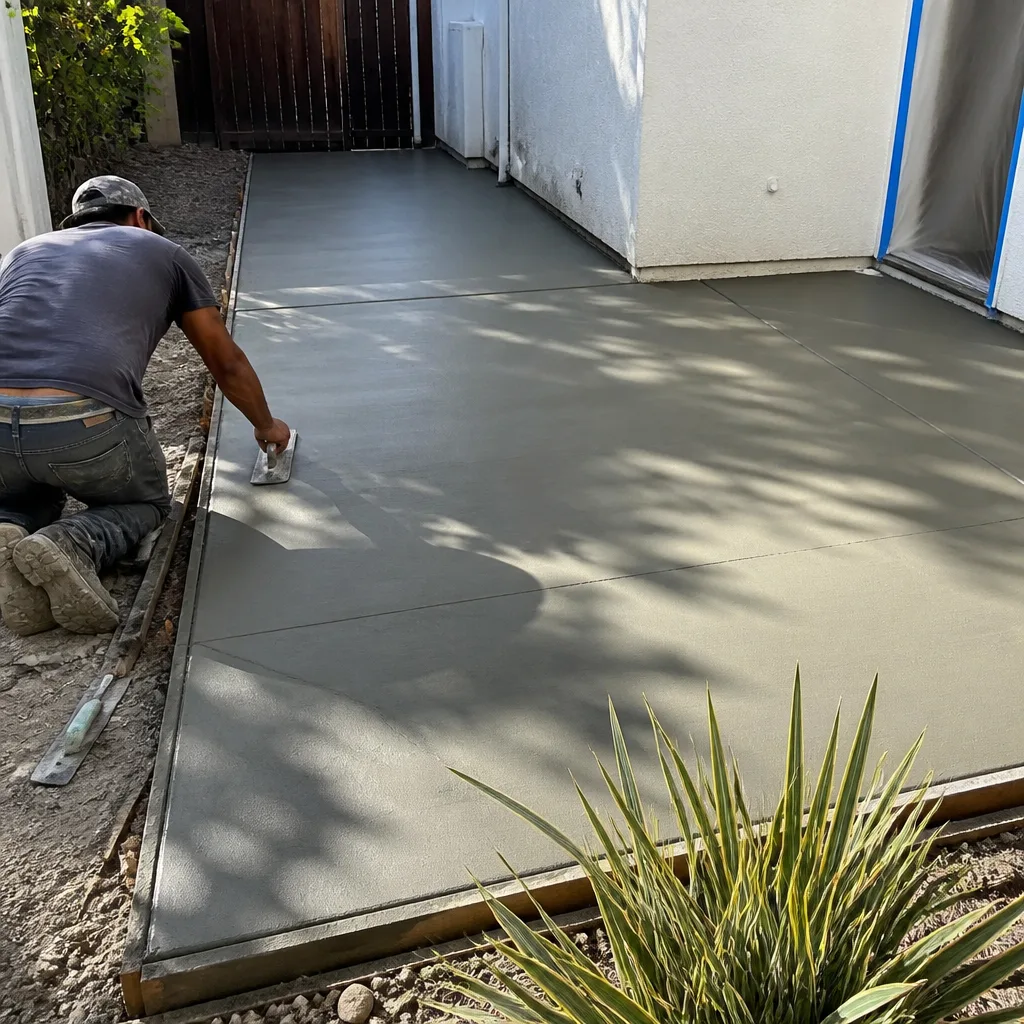 After
After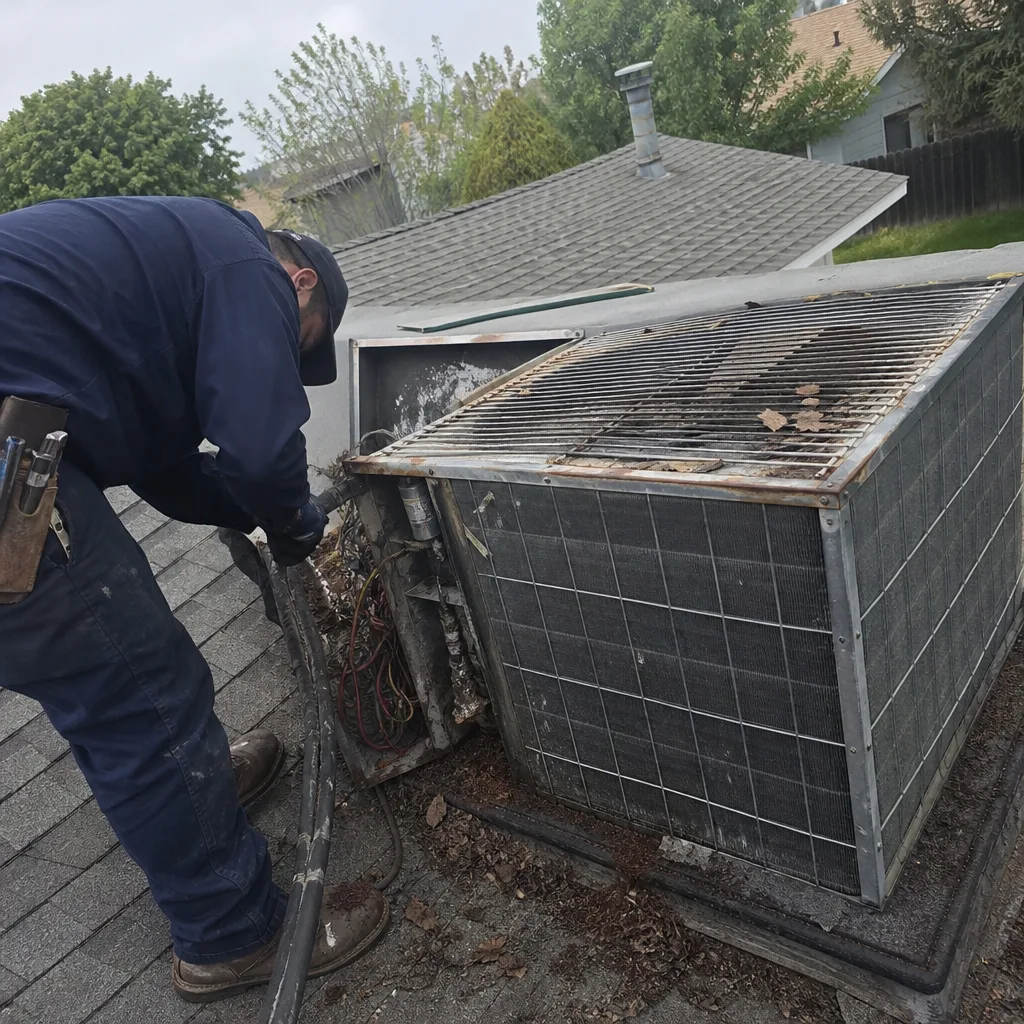 Before
 After
After Before
 After
AfterReplacement Cost & What’s Included
If the failure is isolated to one part of the addition, the repair falls at the low end and gets scoped precisely. Here’s what we quote in the Fresno market:
- Tie-in flashing remediation (roof-to-wall and eave kickout): $1,800 to $4,500 installed, depending on roof access and how much of the cladding has to come off to get at the flashing plane.
- Rim board and ledger bolt correction at an existing addition: $3,000 to $7,000, which includes temporary shoring, removal of the failed connection, and new strapping and bolts per current code.
- Subfloor and joist repair where deflection is measured: $2,500 to $6,500, including the lamination of additional joists or the addition of blocking at mid-span.
- Full re-skin of the addition exterior where moisture has compromised the sheathing: $8,000 to $18,000, materials and disposal included.
Every number above is a written, line-item price before we touch a single tool. That’s The Garrison Standard: the price we give you is the price you pay, and if we find more damage when we open the wall, we stop, show you what we found, and write a change order you approve before any added scope moves forward. Your completed repair is covered by our 365-Day Done Right Promise: if the work fails within one year, we return and correct it at no charge.
DIY or Call Us?
There are a few things an owner can safely do before anyone picks up a phone. Check the exterior caulk lines along any vertical joint where the addition meets the house, and re-caulk with a quality polyurethane if it’s crumbling. Clean the gutters on the addition so overflow doesn’t dump at the wall line. And pull the crawl space access panel once a quarter to look for standing water or damp framing at the sill.
What you shouldn’t do yourself is anything that involves shoring a wall, removing flashing, or digging at the foundation line at the tie-in. The loads in a Sterling addition don’t care about good intentions. Cutting into a rim board without shoring the floor above can lead to a sudden drop of the entire addition’s floor structure, and water intrusion repairs done from the outside without pulling the cladding are the kind of fix that looks fine for six weeks and fails on the first January storm in Fresno that actually pours.
If the failure is structural, moisture-related, or at the seam between the addition and the original house, call us at (559) 785-2712. We’ll come look, give you the straight number in writing, and tell you whether it’s a repair or a re-frame. No charge for the estimate.
FAQs
The structural shell should last 50 years or more if the original tie-in flashing was done right and the foundation was poured per the Fresno city addendum to the California Residential Code. The weak points are the parts exposed to Fresno’s heat and rain: flashing sealant lasts 5 to 10 years before it dries and cracks, cladding can begin showing wear at 20 to 25 years, and subfloor often needs attention at the 30-year mark even with good drainage. Call (559) 785-2712 and we’ll tell you condition-specific, not generic.
Repair is the norm once we open the wall or the floor and see what’s actually failed. Nine times out of ten the framing is sound and the failure is at a connection point, a flashing plane, or a moisture detail that can be corrected without removing the addition. We’ll only recommend demolition and re-frame if the load path has been compromised to the point that patching would leave a real safety issue.
Most tie-in flashing and rim board corrections run 2 to 4 working days. Subfloor repairs run 3 to 5 days including subfloor replacement and finish flooring. A full re-skin can run 2 to 3 weeks depending on scaffolding access and weather. We give you a completion date in writing with the estimate, and we hold to it.
We keep common flashing profiles, structural connectors, anchor bolts, and subfloor materials on the trucks that run Fresno. Odd-gauge flashing or a specific OEM shear wall strap may take 3 to 5 days to source. We’ll tell you at the estimate what’s on hand and what has to be ordered, and the wait shows in writing on the estimate so you’re never left guessing.
Get the straight number for your Sterling addition or ADU repair. Call Bradford Remodeling Co Fresno at (559) 785-2712 for a free, written estimate. Curtis and the crew will walk the job, show you where it’s failing, and hand you a price you can count on. The estimate says what we build, and we build what the estimate says.
Written by Curtis Lane, Owner, Bradford Remodeling Co Fresno at Bradford Remodeling Co Fresno, serving Fresno and nearby areas.